Tag Archives: sugar

Sunday Cook Off : Chocolate Covered Hokey Pokey

Homemade crunchies


This week I decided to try something a bit easier, and then proceeded to choose one of the more difficult things I could make: Hokey Pokey, or Cinder Toffee as it is sometimes known. It’s basically a homemade Crunchie bar. It sounds like an easy enough recipe, just sugar, golden syrup and bicarbonate soda, but the difficulty comes in knowing the best time to mix it all together. When you boil the golden syrup and sugar, you need to wait for as long as possible before adding the bicarb (without letting it burn), or you’ll end up with the kind of sticky mess that is sure to mess with dentistry. I covered it in chocolate to hide the slightly bitter aftertaste that comes with the bicarb, plus anything covered in chocolate is pretty good.

Recipe

2 tbsp caster sugar

4 tbsp golden syrup

2 tsp bicarbonate soda

1. Put the golden syrup and sugar in a saucepan and bring to the boil on a medium heat, stirring constantly.

2. Once the mixture has begun to boil, turn the heat down to low and leave it for up to 7 mins. Only stir once or twice so that it retains heat. Keep a constant eye on the mixture as it can burn quickly if left.

3. Check the mixture by putting a drop in a glass of cold water, if it is sticky then leave it for a while longer. You want it to be hard and brittle.

4. When the mixture is ready, remove from the heat and immediately add the bicarb then stir until combined (this should be very quick)

5. Once the mixture has foamed up and the bicarb is mixed in, immediately transfer to a greased baking tray (I tend to just put a sheet of baking paper in as opposed to greasing – less washing up). Spread the mixture out a bit, but be careful not to flatten it too much or it will lose all of the air bubbles.

6. Leave it for 15 minutes.

7. Then either cut it up with a knife or just break it apart with your fingers, keep the pieces a decent size to aid the chocolate dipping.

8. Break the chocolate into pieces into a bowl then place it over boiling water in a saucepan and stir until melted.

9. Once the chocolate is melted, remove the bowl and saucepan from the heat. Take each piece of hokey pokey and dip into the melted chocolate ensuring that it is fully covered – you can use tongs or your fingers, whichever suits.

10. Place the dipped pieces onto a sheet of baking paper and allow to cool. If you are in a rush you can stick it in the freezer for 30 minutes.

11. Once the chocolate has hardened, enjoy!


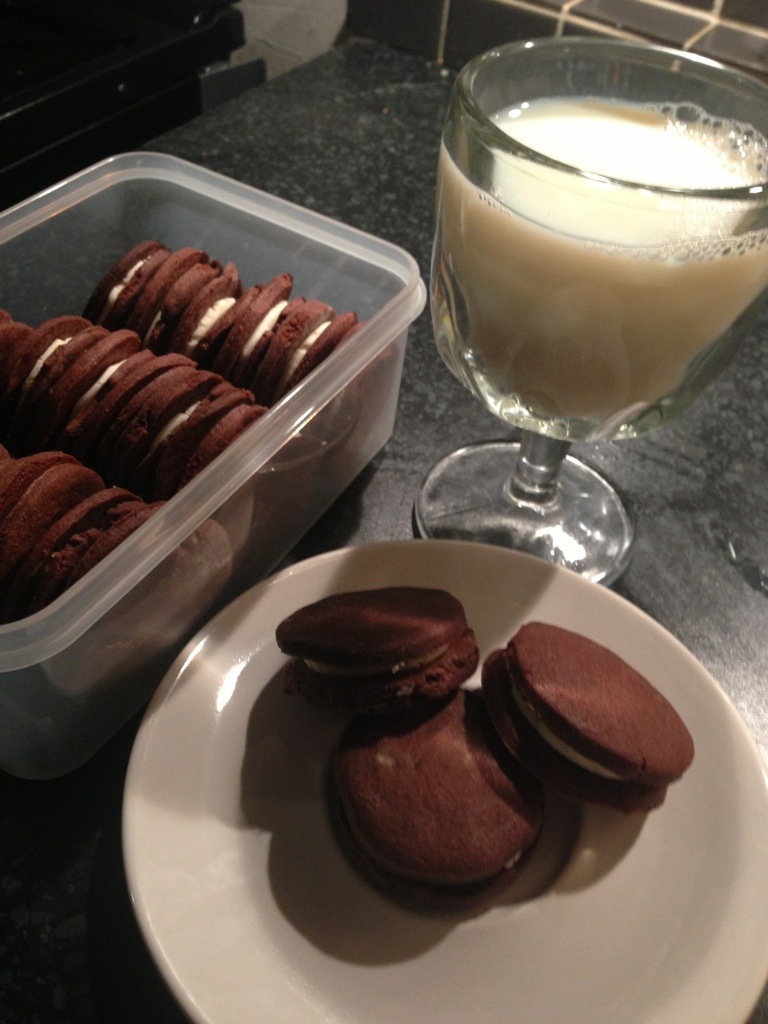
[Image via http://www.petitepigchocolates.com] I didn’t have time to photograph mine before my colleagues devoured everything!

Advertisement
Tagged , , , , , , , , , , , , ,

Sunday Cook Off : Oreos

In my current job I have taken to baking something for my colleagues every week, I get to try out new recipes and they get to stuff their faces with sugary goodness. I’ve done this at pretty much every job I’ve ever had, and needless to say it’s always gone down pretty well.

This week I went back to an old favourite, Oreos. The genius behind My Kitchen Addiction has perfected the filling so that it has just the right consistency that reminds you of the real thing.

I would recommend UK guys buy some cup measurements, as a committed internet baker I’ve found them incredibly useful! Still have no idea about ‘sticks’ of butter though.

Find the recipe here, or below: http://www.mykitchenaddiction.com/2012/02/homemade-oreos/

(Makes approximately 3 dozen)

For the cookies:

  • 230g unsalted butter, softened
  • 1 cup granulated sugar
  • 1 egg
  • 1 teaspoon pure vanilla extract
  • 2 cups all purpose flour
  • 3/4 cup dutch process cocoa powder
  • 1 1/2 teaspoons baking powder
  • 1 teaspoon salt

For the filling:

  • 120g unsalted butter, softened
  • 2 tablespoons double cream
  • 1 teaspoon pure vanilla extract
  • Pinch of salt
  • 3 – 3 1/2 cups powdered sugar, whisked to remove any lumps

Combine the butter and sugar in a large mixing bowl, and beat on medium speed until light and fluffy. Add the egg and vanilla, and beat until well incorporated.

Whisk together the flour, cocoa, baking powder, and salt. Gradually add the dry mixture to the creamed mixture, beating on the lowest speed. Continue to mix on the lowest setting until the dry ingredients are just incorporated.

Divide the dough in half, and shape into two discs. Wrap in plastic wrap and refrigerate for 1 hour.

When the dough is chilled, preheat the oven to 180°F. Line a baking sheet with parchment paper or a baking mat. Set aside.

Taking only one portion of dough out of the refrigerator at a time, turn the dough out onto a lightly floured surface. Roll the dough to 1/8 – 1/4-inch thickness. Use a cookie cutter (approximately 2 inches in diameter) to cut out cookies and transfer them to the prepared baking sheet.

Bake the cookies for 10-12 minutes, then transfer to a wire rack to cool completely. I baked mine for about 8 minutes but my oven is mental, and it depends on whether you prefer your cookies soft or crunchy.

Once the cookies are cooled, prepare the filling. Combine the softened butter, double cream, vanilla, and salt and beat until combined. The mixture may be a bit lumpy, but will come together. Add the powdered sugar gradually, approximately 1/2 cup at a time, until the filling comes together. It will be slightly stiffer than a cupcake frosting.

Transfer the filling to a piping bag fitted with a large round tip. Pipe the filling onto half of the cookies, and top with the remaining cookies to form cookie sandwiches.

20130401-023822.jpg

Enjoy!

Tagged , , , , , , , , ,